
Reading a tape measure is a skill that is essential for both professionals and DIYers. It is a skill that is learned over time, and with practice. This Reading a Tape Measure Worksheet is designed to help you learn how to read a tape measure and become proficient in the skill. This worksheet provides a step-by-step guide to understanding how to read a tape measure, as well as some helpful tips on how to use one. With this worksheet, you can become a master of the tape measure in no time.
How to Use a Tape Measure Worksheet: A Step-By-Step Guide
Using a tape measure is an essential skill for anyone who works with tools or does any kind of construction. It can be intimidating to use a tape measure for the first time, but with a little practice, it can become second nature. This step-by-step guide will teach you how to use a tape measure accurately and efficiently.
1. Know your tape measure. Before you begin, it is important to familiarize yourself with the different parts of the tape measure. Most tape measures have a metal tongue and a locking mechanism, which allow the metal tongue to be pulled out and locked at a certain length. The metal tongue is marked with increments of measurement and is usually accompanied by an inch or centimeter scale.
Contents
- 1 How to Use a Tape Measure Worksheet: A Step-By-Step Guide
- 2 Teaching Kids to Read a Tape Measure: Tips and Tricks
- 3 Common Mistakes to Avoid When Reading a Tape Measure
- 4 Images of Reading A Tape Measure Worksheet
- 5 Download Reading A Tape Measure Worksheet
- 6 Fun and Engaging Tape Measure Worksheets for Kids
- 7 Some pictures about 'Reading A Tape Measure Worksheet'
- 7.1 reading a tape measure worksheet
- 7.2 reading a tape measure worksheet pdf
- 7.3 reading a tape measure worksheet answer key
- 7.4 reading a tape measure worksheet with answers pdf
- 7.5 reading a tape measure worksheet answers
- 7.6 reading a tape measure worksheet free
- 7.7 reading a tape measure worksheet math-aids.com
- 7.8 reading a tape measure worksheet answer key pdf
- 7.9 reading a tape measure worksheet how many feet and inches
- 7.10 reading a tape measure worksheet answer key math-aids.com
- 8 Related posts of "Reading A Tape Measure Worksheet"
2. Measure from left to right. When you are ready to measure, start from the left side of the object and pull the metal tongue out towards the right side. Always measure from left to right, as this will help you ensure accuracy.
3. Lock the tongue in place. Once you have reached the desired length of measurement, lock the metal tongue in place by engaging the locking mechanism. This will ensure that the measurement remains accurate and does not move.
4. Read the measurements. After the metal tongue is locked in place, you can read the measurement displayed. Make sure to pay close attention to the units of measurement, as this will tell you if you are measuring in inches or centimeters.
5. Record your measurements. Once you have taken a measurement, it is important to record it. Writing down the measurements will allow you to refer back to them and ensure accuracy when you are working.
By following these steps, you will be able to use a tape measure accurately and efficiently. With a little practice, the skill of using a tape measure will become second nature.
Teaching Kids to Read a Tape Measure: Tips and Tricks
Teaching kids to read a tape measure can be a daunting task. However, with the right tips and tricks, you can make it easier and more fun. Here are some tips to help you guide your children in mastering this essential skill.
1. Start with the basics. Before attempting to read a tape measure, explain the basic concepts of measurements. Explain the different units of measurements, such as inches, centimeters, and feet. Introduce basic fractions as well, as these are commonly used when measuring.
2. Use a visual aid. To help kids understand how measurements are taken, use a visual aid such as a ruler or yardstick. Show them how measurements are taken and how to read the markings on the ruler.
3. Practice. To help kids learn how to read a tape measure, practice with them. Show them how to measure objects in the house such as doors, windows, furniture, and walls. Provide them with a tape measure and have them practice measuring objects.
4. Incorporate fun. Make learning to read a tape measure a fun activity by incorporating games and activities. Create a scavenger hunt in which they have to measure everyday objects or create a game in which they have to guess the measurement of an item.
5. Be patient. Learning to read a tape measure is a process that takes time and practice. Be patient and provide positive reinforcement to keep your kids motivated and excited.
By following these tips and tricks, you can help your kids learn to read a tape measure and master this essential skill. With patience, guidance, and practice, your children will be measuring with confidence in no time.
Common Mistakes to Avoid When Reading a Tape Measure
1. Not accounting for the thickness of the object being measured: It is important to remember that the tape measure must be placed against the object being measured in order for the measurement to be accurate. Otherwise, the measurement may be off by the thickness of the object.
2. Not accounting for the width of the blade: The blade of the tape measure is often wider than the actual measurement of the object. This can lead to significant inaccuracies if not accounted for.
3. Not using metric measurements: When measuring large distances, it is often necessary to use metric measurements, as these are more accurate and easier to read.
4. Not using the proper tools: Inaccurate measurements can be made if the wrong tools are used. For example, a metal ruler could be used instead of a tape measure, which could lead to inaccurate measurements due to the metal ruler’s thickness.
5. Not accounting for fractions: Fractions are often used when measuring smaller objects. It is important to be aware of this and account for the fraction when taking measurements.
6. Not measuring from the same point: If two different points are used when taking measurements, the results will be inaccurate. It is important to measure from the same point each time for accurate results.
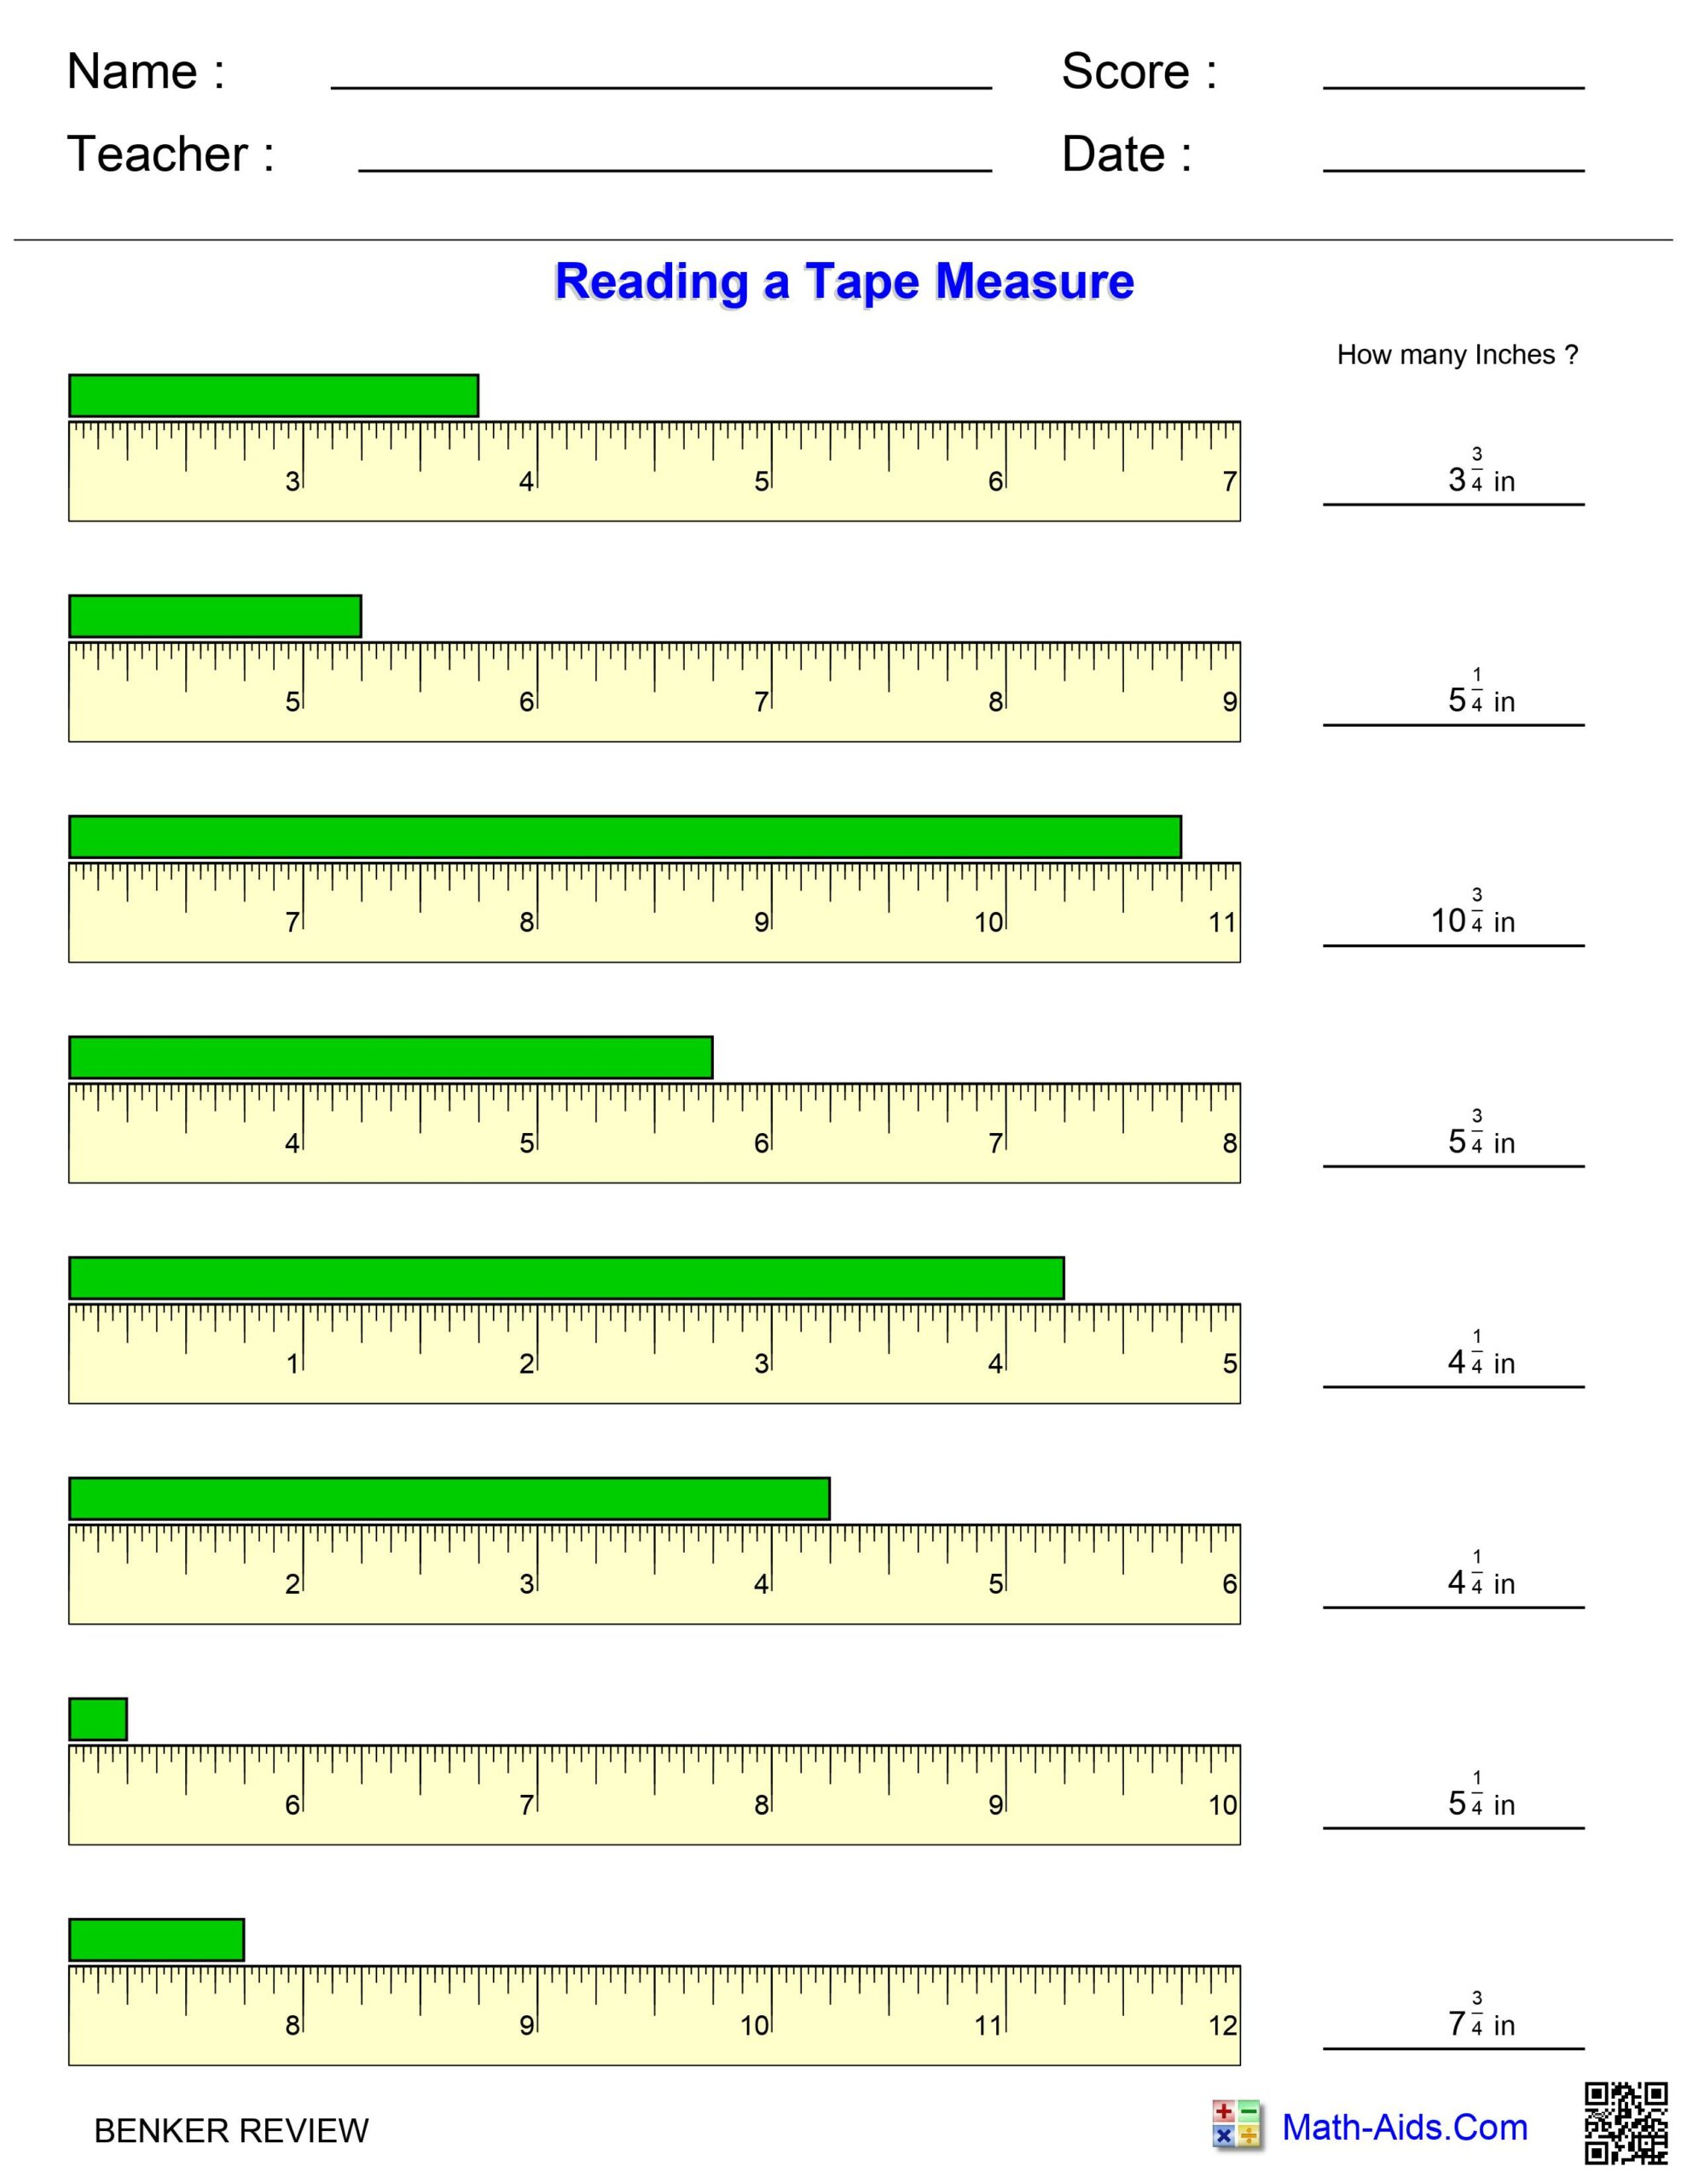
Images of Reading A Tape Measure Worksheet

Download Reading A Tape Measure Worksheet
Download Reading A Tape Measure Worksheet: Click Here
Fun and Engaging Tape Measure Worksheets for Kids
Learning about measuring and length can be fun for kids! These tape measure worksheets are designed to help children learn to read a tape measure, understand measurements, and practice basic math skills.
The worksheets have a variety of activities that will engage and challenge children. They can practice measuring objects around the house, reading measurements from a ruler, and even estimating lengths. They can also practice basic math operations such as addition and subtraction, as well as learning about fractions and decimals.
These worksheets are great for visual learners, as they include diagrams and pictures to help explain concepts. The worksheets also include a variety of activities to keep kids interested, such as word searches, crosswords, and mazes.
The tape measure worksheets are perfect for introducing kids to measuring and length, as well as providing a fun and engaging way to practice math skills. With these worksheets, kids can learn in a fun and interactive way while still challenging themselves.
The Reading a Tape Measure Worksheet is an excellent tool to help students learn how to read and use a tape measure. It provides a variety of activities that help students practice their skills in a fun and engaging way. It also allows them to develop their understanding of how to use a tape measure in a variety of projects. By completing the worksheet, students will gain a greater understanding of how to read and use a tape measure and be better prepared to tackle other projects that require measuring.